Table of Contents
Overview
The measurement of clock frequencies is an essential component of embedded system development. For activities like precise timing, baud rate computation for serial connection, and ensuring that your system functions within its defined boundaries, knowing the precise clock frequency of your microcontroller is crucial. This article will examine the TMS320F28069 microcontroller’s clock frequency measurement and provide a thorough explanation of the code used to accomplish this.
Specification
| Specification | Description |
| Core | 32-bit C28x CPU core |
| Clock Frequency | Up to 90 MHz (Adjustable using PLL) |
| Supply Voltage | 1.71V to 1.89V (Core), 3.3V (I/O) |
| Flash Memory | 128 KB (Up to 256 KB with dual bank) |
| RAM | 100 KB |
| EEPROM | 2 KB (Emulated Flash EEPROM) |
| Digital I/O Pins | Up to 159 GPIO pins |
| Timers | – 3 x 32-bit ePWM |
| – 3 x 16-bit ePWM | |
| – 4 x 32-bit QEP | |
| – 3 x 32-bit Timer | |
| – 2 x 16-bit Timer | |
| Analog-to-Digital Converter (ADC) | – 12-bit SAR ADC |
| – Up to 16 channels | |
| Communication Interfaces | – 2 x SCI (Serial Communication Interface) |
| – 2 x SPI (Serial Peripheral Interface) | |
| – 1 x I2C (Inter-Integrated Circuit) | |
| PWM Channels | Up to 16 ePWM channels |
| Capture/Compare | – 16 ePWM channels |
| Operating Temperature | -40°C to 105°C |
| Package Options | LQFP, VQFN, and more |
| Operating Voltage Range | 1.71V to 1.89V (Core), 3.3V (I/O) |
| Clocking | – Phase-Locked Loop (PLL) |
| – Watchdog Timer (WDT) | |
| DMA | 6 x DMA channels |
| Security | Advanced Encryption Standard (AES) |
| Development Tools | – Compatible with Code Composer Studio |
| – Development Kits and Debuggers Available |

The TMS320F28069 Microcontroller Overview:
The microcontroller TMS320F28069 belongs to Texas Instruments’ C2000 family and was created primarily for real-time control applications. It is a popular option for applications like motor control and power electronics since it has a 32-bit CPU core, several peripherals, and sophisticated analog-to-digital converters.
Configuring the Clock Frequency
We must first set up the microcontroller to produce a recognized clock signal in order to precisely measure the clock frequency. We initialize the GPIO settings and system control in the given code. Let’s dissect the pertinent sections of the code:
#include "DSP28x_Project.h"


void main(void)
{
    InitSysCtrl();  // Initialize the System Control (PLL, Watchdog, etc.)
    InitGpio();     // Initialize the General-Purpose Input/Output (GPIO)

    EALLOW;
    GpioCtrlRegs.GPAMUX2.bit.GPIO18 = 3;    // Configure GPIO18 as XCLKOUT
    EDIS;

    while(1)
    {

    }
}
Here’s an explanation of the relevant parts:
- InitSysCtrl(): Initializes the system control settings, including the PLL (Phase-Locked Loop), which is responsible for generating the system clock.
- InitGpio(): Initializes the GPIO settings, which are used to configure pins for various functions.
- GpioCtrlRegs.GPAMUX2.bit.GPIO18 = 3; Configures GPIO18 as XCLKOUT, which is an output clock signal that can be measured.
Now, let’s discuss how to measure the clock frequency using this XCLKOUT signal.
Measuring the Clock Frequency
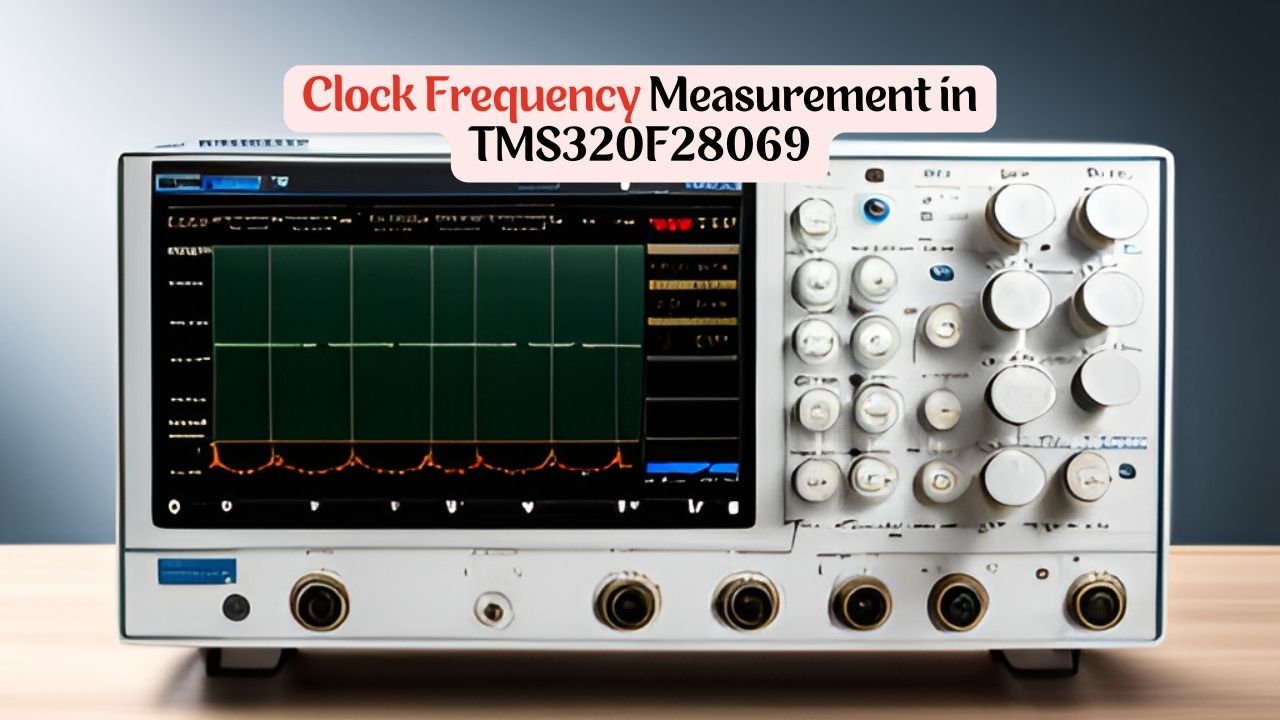
You will need an oscilloscope or a frequency counter to precisely measure the clock frequency. Connect the measurement device’s probe or input to the pin designated for GPIO 18. then take these actions:
- Flash the code to your TMS320F28069 microcontroller after compiling it.
- Activate the microcontroller.
- Connect the probe of your oscilloscope to the XCLKOUT(GPIO18 ) pin on your microcontroller other end probes connect to the ground.
- Measure the time period (T) of one complete cycle of the waveform in seconds. You can do this by measuring the time it takes for one rising (or falling) edge to repeat.
In this context, it appears that you are configuring GPIO18 as an XCLKOUT (External Clock Out) pin, which is a common use case for an external clock signal. When GPIO18 is configured in this way, it will output the microcontroller’s clock signal to the XCLKOUT pin, as discussed in the previous responses.


