Table of Contents
Introduction
What is thermal camera
Thermal imaging cameras are devices that translate thermal energy (heat) into visible light in order to analyze a particular object or scene. The image produced is known as a thermogram and is analyzed through a process called thermography. How does a thermal camera work?
Thermal cameras detect temperature by recognizing and capturing different levels of infrared light. This light is invisible to the naked eye, but can be felt as heat if the intensity is high enough. … From there, the microbolometer records the temperature and then assigns that pixel to an appropriate color.

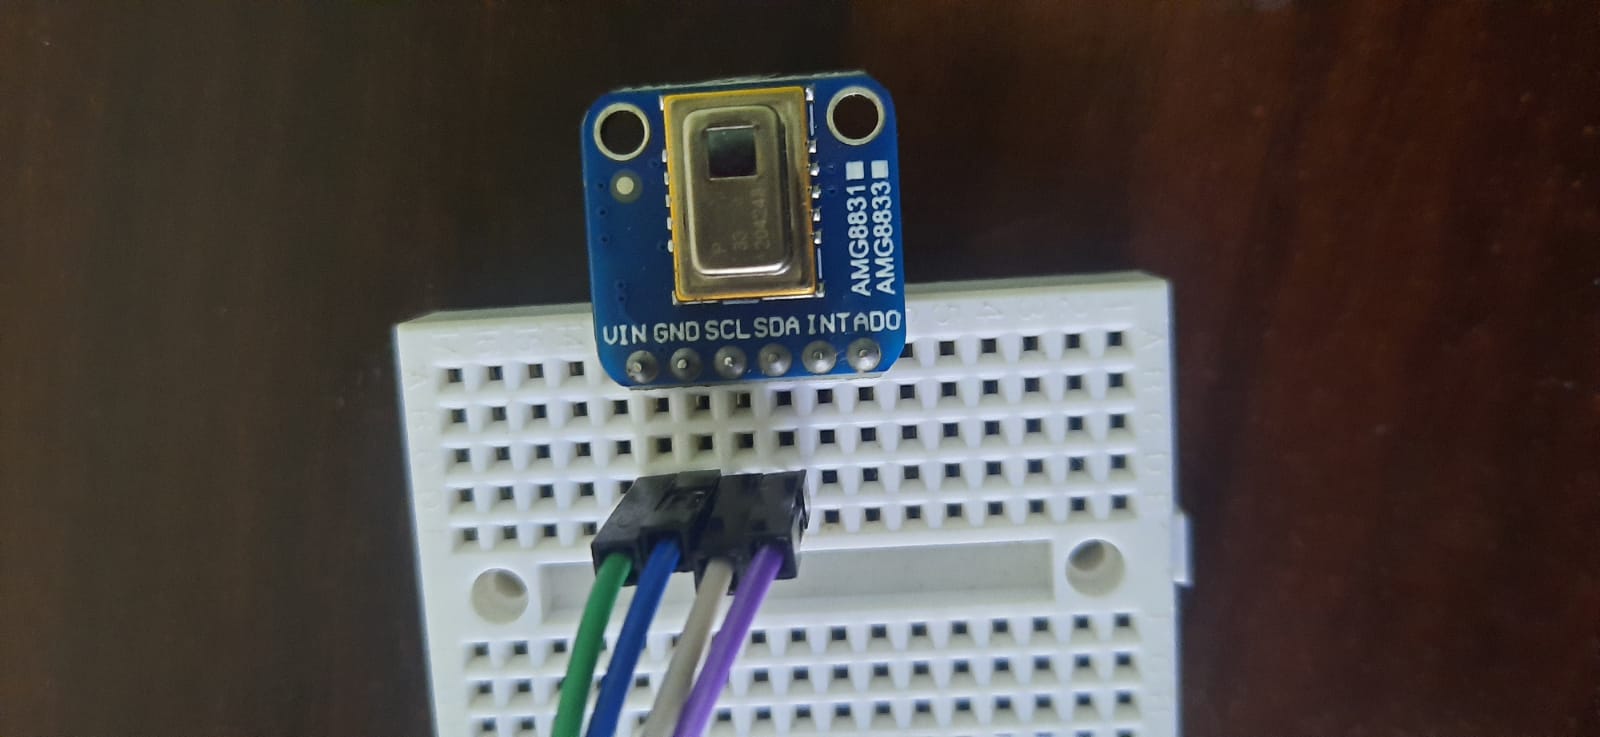
In this tutorial we are using AMG8833 thermal camera. Lets starts the tutorial.
Requirements
- Arduino Nano – 1
- AMG8833 – 1 (Thermal Camera)
- Breadboard – 1
- Jumper Wires
Technical specification
| Model | AMG8833 |
| Input Voltage (Volt) | 3.3 – 5 |
| Operating Temperature Range | 0 °C to 80 °C +32 °F to +176 °F |
| Storage Temperature Range | −20 °C to 80 °C –4 °F to +176 °F |
| Output sink current (mA) | 10 |
| Human detection distance (meter) | 7 |
| Viewing angle (degree) | 60 |
| Current consumption (mA) | 4.5 (normal mode) 0.2 (sleep mode) 0.8 (stand-by mode) |
| Number of pixel | 64 (Vertical 8 × Horizontal 8 Matrix) |
| External interface | I2C (fast mode) |
| Frame rate | Typical 10 frames/sec or 1 frame/sec |
| Dimensions (mm) | 17.5 x 17.5 x 7 |
| Weight (gm) | 2 |
| Shipment Weight | 0.078 kg |
| Shipment Dimensions | 4 × 3 × 1 cm |
Arduino Wiring & Test
We can easily wire this breakout to any micro controller, we are using an Arduino Nano. You can use any other kind of micro controller as well as long as it has I2C clock and I2C data lines.
Connections
Connect Vin to the power supply, 3-5V is fine. Use the same voltage that the microcontroller logic is based off of.
For most Arduino’s, that is 5V
Connect GND to common power/data ground
Connect the SCL pin to the I2C clock SCL pin on your Arduino.
On an UNO & ‘328 based Arduino, this is also known as A5, on a Mega it is also known as digital 21 and on a Leonardo/Micro, digital 3
Connect the SDA pin to the I2C data SDA pin on your Arduino. On an UNO & ‘328 based Arduino, this is also known as A4, on a Mega it is also known as digital 20 and on a Leonardo/Micro, digital 2.

How to download AMG8833 Library
In Arduino IDE, Sketch->Include Library->Manage Libraries.
Search as AMG8833, will get the results in that select the adafruit library and install it.

Now from examples, select the sketch as below image

Now made the connections as mentioned above and upload the sketch. We can find the output as below image. We get the values in 8*8 matrix with 64 pixels of data.
Output

I hope you enjoyed this tutorial, for any assistance comment below.