Table of Contents
Overview
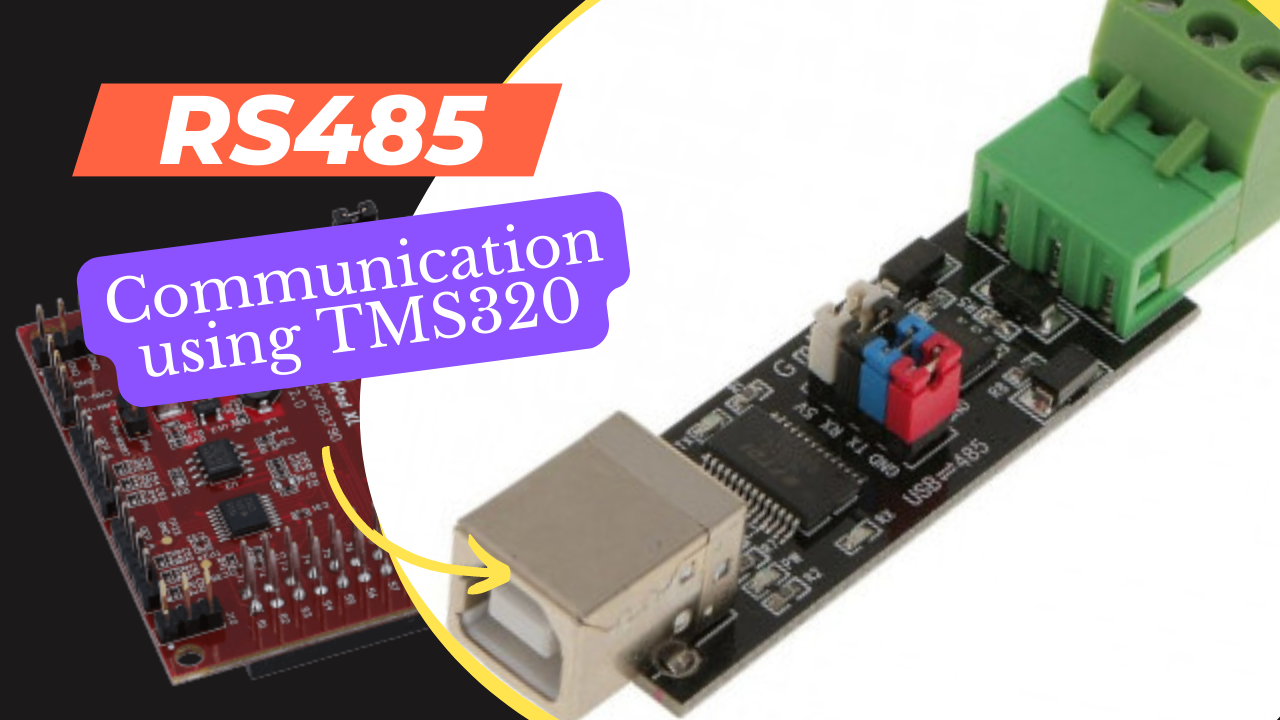
One of the most popular ways to communicate with a device using the Modbus protocol is over RS485. We will soon begin the Modbus courses, so before then, I considered talking about RS485 specifically.
In the tutorial, we’ll demonstrate how to use the TMS320 to connect the RS485 to the TTL conversion module. I’ll be using TMS320 controllers, with one end linked to a PC application (serial terminal) and the other to the controller RX TX enable pins, as indicated in the below diagram.
Block Diagram 1

Block Diagram 2

Components required table
| S.N. | COMPONENTS | QUANTITY | |
| 1 | LAUNCHXL-F28379D | 1 | https://evelta.com/launchxl-f28379d-c2000 |
| 2 | RS485 Serial Converter | 1 | https://www.amazon.in/REES52-REES_11-Rs485-Serial-Converter |
| 3 | RS-485 Module | 1(optional) | https://www.amazon.in/MAX485-module-RS-485-Converter |
| 4 | Ftdi Ft232Rl Ft232 | 1 | https://www.amazon.in/xcluma-FT232Rl-Serial-Adaptor |
| 5 | USB 2.0 Cable – A-Male to Mini-B | 3 | https://www.amazon.in/AmazonBasics-USB-2-0 |
| 6 | Arduino UNO/Mega (USB A to B) | 1 | https://www.amazon.in/XESP-Cable-Arduino-Mega-30cm |
| 7 | Breadboard | 1 | https://www.amazon.in/Robotbanao-Solderless-MB102-Breadboard1 |
| 8 | Jumper Wires | 1(set) | https://www.amazon.in/YUVS-Jumper-Wires |
Let’s begin with comprehending this module.
The RS485 to TTL Converter
The normal signal level range for the RS485 communication protocol is between -7V and +12V. Typically, the microcontroller pins are not made to handle these levels. Due to this, these signals must be transformed into low voltages, such as 3V. The MAX485 chip, which is inside the module, handles the majority of the conversion work.

The data signals 101010 at an RS-485 wire pair are displayed as an example in the image below. A logical 0 with 0 V and a logical 1 with 5 V output voltage are sent by the red line TX+, respectively (not inverted). The blue line TX- transmits a signal with 5 V logical 0 and 0 V logical 1 simultaneously, but with inverted polarity. The green arrows show the voltage difference resulting from the wire pair RX and TX. The receiver generates from this voltage difference the data bits for 0 and 1.
The example shows voltage with the following defined voltage levels:
- A = Nominal voltage (e.g. 5 V)
- B = Minimal output voltage at the transmitter (1.5 V)
- C = Minimal input voltage at the receiver (200mV)

On the left side of the module, the RO pin connects to the RX pin of the UART, and the DI pin connects to the TX pin.
The RE and DE Pins set the module in Receiver or Transmitter mode.
- The Module is set in the Receiver mode when the RE pin is LOW and DE pin is LOW.
- When the DE pin is HIGH and the RE pin is HIGH, the Module is set in the Transmitter mode.
Pin A and Pin B are the output pins which carry the transmission signal.
Let’s take an example where we provide the data, 0x95 (10010101) to the module. If the Module is powered with 5V, the output on pins A and B will be as shown below


- Since A is the non-inverting pin, its output will be in sync with the input. It varies between 0 to +5V
- B is the inverting pin, so the output is inverted and varies between -5V to 0
- When the second module receives these as inputs, it decodes the data based on the voltage differences.
- If the voltage difference is maximum, the bit is 1, and if the difference is 0 the bit is 0
- This data is then converted to lower voltages (0 to 3V) to suit the MCU requirement
Hardware Connection
The module’s connection diagram with the TMS320F28379D controller is shown below.

The RO pin is connected to GPIO 71 (UART1 RX) as previously mentioned, and the DI pin is connected to GPIO 70 (UART1 TX).
The RE and DE are connected together with the pin GPIO_68, which we have set as the output in the MCU.
The sendData function used above is shown below
- We must switch the RS485 module to transmitter mode before sending the data.
- We must pull the DE (Driver enable) pin HIGH to accomplish this.
- After that, we’ll use the SCI_writeCharArray() function to communicate the data.
- Then we will send the data using the SCI_writeCharArray() Function.
- Once the data is transmitted, we will enable the receiver mode by pulling the RE (Receive Enable) Pin LOW.
The same pin (GPIO_68, TX EN), to which DE and RE are attached, can be used to switch the module between transmitter and receiver mode.
The module is constantly kept in the receive mode because it is impossible to determine the timing of the incoming data. We switch it from receive mode back to transmitter mode just before we want to send the data.
Source Code for transmission set
To transfer the data, I have connected GPIO 68 to re and di in this location. The software I’m writing makes this pin continuously high.
    GpioCtrlRegs.GPCGMUX1.bit.GPIO68 = 0;           // GPIO-67
    GpioCtrlRegs.GPCMUX1.bit.GPIO68  = 0;           // Configure GPIO-68 as --> U1-485_SEL
    GpioCtrlRegs.GPCDIR.bit.GPIO68   = 1;           // 0-INPUT, 1-OUTPUT
    GpioDataRegs.GPCSET.bit.GPIO68   = 1;         // Set High Initially
Final Source Code
/*
 * Main_RS232.c
 *
 *  Created on: 06-Dec-2022
 *      Author: Admin
 */

#include "F28x_Project.h"
#include "F2837xD_device.h"
#include "F2837xD_Examples.h"

#include "device.h"
#include "driverlib.h"


#define RXBUF_SIZE      1300
#define TXBUF_SIZE      512
unsigned char ucRxFrameSciB[RXBUF_SIZE];
unsigned char ucTxFrameSciB[TXBUF_SIZE];

unsigned char ucRxDataFlagSciB = 0;
unsigned int  uiTxlenSciB = 0;
unsigned int  uiRxlenSciB = 0;


void Init_SciB(void);
void ClearReceiveFrame_SciB(void);
void ClearTransmitFrame_SciB(void);


void main(void)
{
    Device_init();
    Device_initGPIO();

    EALLOW;
    //--------------------------------------------------------------------------------------
            /*=====================================
                --------------SCI-C--------------
              =====================================*/
    //--------------------------------------------------------------------------------------

    GpioCtrlRegs.GPCGMUX1.bit.GPIO70 = 1;           // GPIO-70
    GpioCtrlRegs.GPCMUX1.bit.GPIO70  = 2;           // Configure GPIO-70 as --> U1-485_TxD

    //--------------------------------------------------------------------------------------

    GpioCtrlRegs.GPCGMUX1.bit.GPIO71 = 1;           // U1-485 Rx
    GpioCtrlRegs.GPCMUX1.bit.GPIO71  = 2;           // Configure GPIO-71 as --> U1-485_RxD


    //--------------------------------------------------------------------------------------

    GpioCtrlRegs.GPCGMUX1.bit.GPIO68 = 0;           // GPIO-67
    GpioCtrlRegs.GPCMUX1.bit.GPIO68  = 0;           // Configure GPIO-68 as --> U1-485_SEL
    GpioCtrlRegs.GPCDIR.bit.GPIO68   = 1;           // 0-INPUT, 1-OUTPUT
    GpioDataRegs.GPCSET.bit.GPIO68   = 1;         // Set High Initially

    EDIS;
    Init_SciB();
    while(1)
    {
        SCI_writeCharArray(SCIB_BASE, (uint16_t *)"RS485..\r\n", 10);
        DELAY_US(100000);
    }
}


/*=====================================
    --------------SCI-B--------------
  =====================================*/
void Init_SciB(void)
{
    SCI_performSoftwareReset(SCIB_BASE);

           //
           // Configure SCIA for echoback.
           //
           SCI_setConfig(SCIB_BASE, DEVICE_LSPCLK_FREQ, 9600, (SCI_CONFIG_WLEN_8 |
                                                    SCI_CONFIG_STOP_ONE |
                                                    SCI_CONFIG_PAR_NONE));
           SCI_resetChannels(SCIB_BASE);
           SCI_clearInterruptStatus(SCIB_BASE, SCI_INT_TXRDY | SCI_INT_RXRDY_BRKDT);
           SCI_enableModule(SCIB_BASE);
           SCI_performSoftwareReset(SCIB_BASE);

           //
           // Enable the TXRDY and RXRDY interrupts.
           //
           SCI_enableInterrupt(SCIB_BASE, SCI_INT_TXRDY | SCI_INT_RXRDY_BRKDT);

       #ifdef AUTOBAUD
           //
           // Perform an autobaud lock.
           // SCI expects an 'a' or 'A' to lock the baud rate.
           //
           SCI_lockAutobaud(SCIB_BASE);
       #endif

}


void ClearReceiveFrame_SciB(void)
{
    unsigned int cntr;

    ScibRegs.SCIFFRX.bit.RXFFOVRCLR=1;   // Clear Overflow flag
    ScibRegs.SCIFFRX.bit.RXFFINTCLR = 1; // Clear receive Int flag
    ScibRegs.SCIFFRX.bit.RXFFIL = 1;     // FIFO SIZE
    ScibRegs.SCIFFRX.bit.RXFFIENA = 1;   // enable SCI-B Rx-ISR

    for(cntr = 0; cntr < RXBUF_SIZE; cntr++)
        ucRxFrameSciB[cntr] = '\0';

    uiRxlenSciB = 0;
    ucRxDataFlagSciB = 0;
}


void ClearTransmitFrame_SciB(void)
{
    unsigned int cntr;

    for(cntr = 0; cntr < TXBUF_SIZE; cntr++) ucTxFrameSciB[cntr] = 0x0000;
}
After long time you are here. Good to see you back
Excellent material for TI C2000 series microcontroller, Please make more material for HMI LCD interface with C2000 series microcontroller, so that we can learn.