Table of Contents
Overview
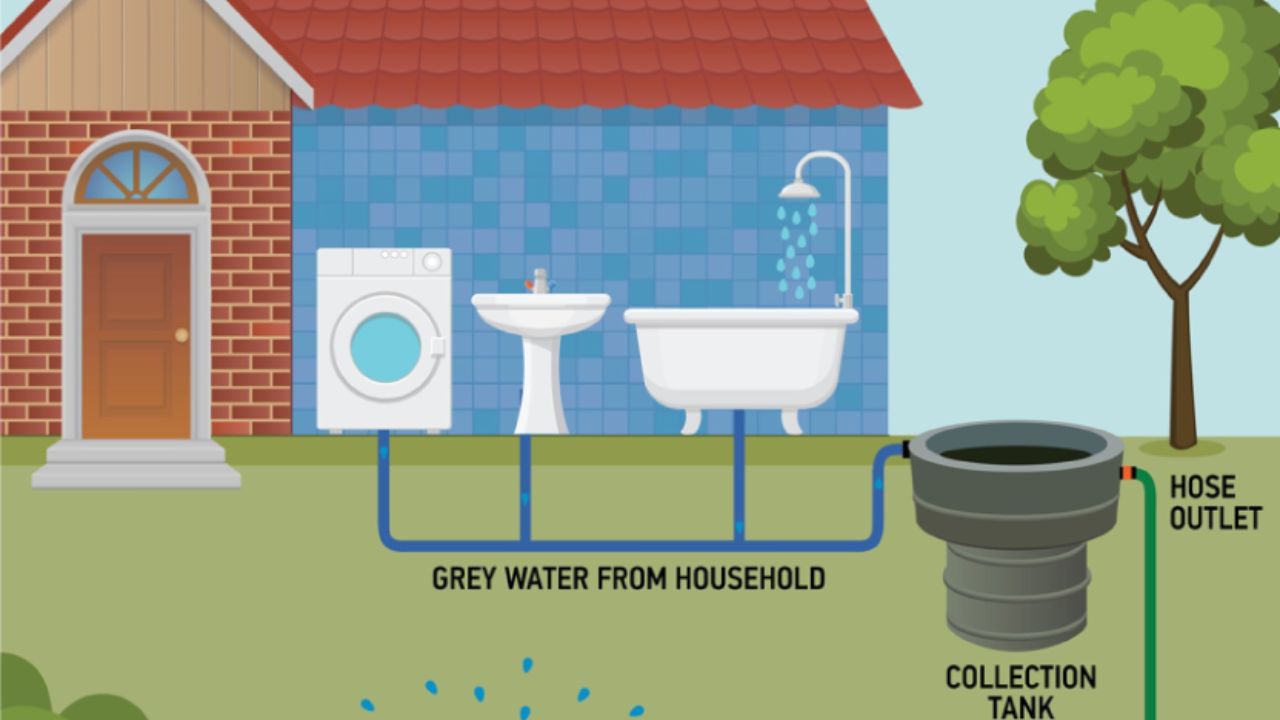
In the modern world, water scarcity is a severe threat that requires careful consideration. In order to meet the rising demand for water caused by a rise in population, wastewater must be treated and used appropriately. Making the wastewater treatment process effective and affordable is also essential. This article suggests a method that can periodically check key wastewater treatment plant characteristics and alert the plant operator in an emergency. Additionally, it shows a control mechanism that, in the event that damage is found, shuts off the plant. Once created, the system can send and receive warnings without an Internet connection. The turbidity sensor and microcontroller are both ESP8266 NodeMCU. turbidity and water level.

| S.No | COMPONENTS | QUANTITY | |
| 1 | Arduino UNO | 1 | https://www.amazon.in/Scriptronics-ATmega328P |
| 2 | ESP8266 | 1 | https://www.amazon.in/Techtonics-ESP8266 |
| 3 | Water Level Sensor | 1 | https://www.amazon.in/Robodo-Electronics-REL_35-Detection |
| 4 | Turbidity Sensor | 1 | https://www.amazon.in/Generic-Turbidity-Sensor |
| 5 | Soil moisture sensor | 1 | https://www.amazon.in/SOILSENSOR-MOISTURE |
| 6 | Sim900A Gsm Modem | 1 | https://www.amazon.in/UNIVERSAL-SIM900A_GSM_MODEM |
| 7 | LCD 16X2 | 1 | https://www.amazon.in/OLatus-OL-COMBO-DISPLAY |
| 8 | Relay Module | 1 | https://www.amazon.in/Robotbanao-Channel-Module |
| 9 | Jumper wires | 1(set) | https://www.amazon.in/YUVS-Jumper-Wires-female-Pieces |
| 10 | Breadboard | 1 | https://www.amazon.in/Robotbanao-Solderless-MB102-Breadboard1 |
| 11 | Hand Gloves | 1 | https://www.amazon.in/OTOVON-Antistatic-Coated-Finger-Gloves |
DfRobot Turbidity Sensor


The severity DfRobot’s Arduino Turbidity Sensor measures turbidity levels to determine the condition of the water. The amount of total suspended solids (TSS) in the water affects the light’s transmittance and scattering rate, which can be used to identify suspended particles in the water. The level of liquid turbidity rises as the TTS rises.
The output signal modes for this liquid sensor include analogue and digital. When in digital signal mode, the threshold can be altered. Depending on the applications for your microcontroller, you can choose the mode.
Working of a Turbidity Sensor

The sensor works on the premise that the amount of dirt in the water affects how much light is transmitted through the water when it passes through a sample of water. The amount of light that is transmitted reduces as soil depth rises. The amount of light that is transmitted is measured by the turbidity sensor to ascertain how turbid the wash water appears.
Sensor Specification
- Operating Voltage: 5V DC
- Operating Current: 40mA (MAX)
- Response Time: <500ms
- Insulation Resistance: 100M (Min)
- Output Method: Analog
- Analog output: 0-4.5V
- Digital Output: High/Low-level signal (you can adjust the threshold value by adjusting the potentiometer)
Basic Turbidity Sensor Arduino Interfacing Code
void setup() {
  Serial.begin(9600);

}
void loop() {
  int sensorValue = analogRead(A0);
  float voltage = sensorValue * (5.0 / 1024.0);

  Serial.println ("Sensor Output (V):");
  Serial.println (voltage);
  Serial.println();
  delay(1000);
}
The Water Level Depth Sensor Module for Arduino is a simple, affordable, high level/drop identification sensor that works by measuring the volume of water droplets on a sequence of parallel wires exposing traces to estimate the water level. The sensor has a detection area of 40x16mm and is an analogue kind, producing analogue output signals in accordance with the water pressure.
To produce the level warning effect, a straightforward conversion of water to an analogue signal is required. The output analogue values can also be read directly from an Arduino development board.
Water Level Sensor Pinout
The water level sensor module’s operation is remarkably similar to a rain sensor’s.
The water level sensor uses 5V power, has three pins, and outputs data in analogue format. The water level sensor’s pinout is listed below:

How does a Water Level Sensor Work?
The water level sensor’s operation is rather straightforward and simple to comprehend. Long conductive plates are used to construct the PCB. The conductivity between the two plates changes as the water level reaches a given level, and by observing the variations, we can determine the water level.

The water level sensor’s operation is demonstrated in the gif up above. As you can see, as a drop of water enters the glass, both the voltage at the output pin and the water level rise. The output voltage has a direct correlation with this event. This occurs because there are 10 conducting plates that make up the sensor section of the PCB, 5 of which are used for power tracks and the remaining 5 for sensor tracks.
Basic water level Sensor Arduino Interfacing Code
//Arduino water level sensor code

#define sensorPin A0

void setup() {

  Serial.begin(9600);

}

void loop()

{

  unsigned int sensorValue = analogRead(sensorPin);

  if (sensorValue < 540)

    return;

  uint8_t outputValue = map(sensorValue, 540, 800, 0, 255);

  Serial.print(sensorValue);

  Serial.print(" ");

  Serial.println(outputValue);


}
Block diagram for IoT-Based Industrial Waste Water Monitoring and Recycling
After adding all those, we need to interface additional sensors to finish this project, as indicated in the project block diagram below.

//https://thingspeak.com/channels/1913546
#include <LiquidCrystal.h>
#include <SoftwareSerial.h>
SoftwareSerial Serial1(2,3); // RX, TX GSM_RX_TX
const int rs = 8, en =9, d4 =10, d5 =11, d6 =12, d7 =13;
LiquidCrystal lcd(rs, en, d4, d5, d6, d7);
const int Water_Level_Sensor = A0;  // Analog input pin

const int Turbidity_Sensor  = A2;  // Analog input pin
const int Soil_Moisture_Sensor = A1;  // Analog input pin

const int Wate_Pump_Motor =  A4;      // the number of the LED p

int Water_Level = 0,Soil_Humidit_Value=0,Humidity_value=0,Turbidity_Sensing_Value=0;
int sec1=0,tst1=0;

void setup()
{
    Serial.begin(115200);  // Set it according to your esp’s baudrate. Different esp’s have different baud rates.
    pinMode(Wate_Pump_Motor, OUTPUT);
    pinMode(4, OUTPUT);
    pinMode(5, OUTPUT);
    pinMode(6, OUTPUT);
    pinMode(7, OUTPUT);
    Serial1.begin(9600);
    lcd.begin(16, 2);
    // Print a messageeto the LCD.
    lcd.setCursor(0, 0);
    lcd.print("  Welcome To    ");
    // (note: line 1 is the second row, since counting begins with 0):
    lcd.setCursor(0, 1);
    // Print a message to the LCD.
    lcd.print("ROS Waste Water SYS");
    // initialize serial:
    delay(5000);
}
void loop()
{
    lcd.clear();
    Water_Level = analogRead(Water_Level_Sensor);
    Soil_Humidit_Value = analogRead(Soil_Moisture_Sensor);
    Turbidity_Sensing_Value = analogRead(Turbidity_Sensor );
    Serial.println( Turbidity_Sensing_Value);
    lcd.setCursor(0, 0);
    lcd.print(" W: ");
    lcd.setCursor(3, 0);
    lcd.print(Water_Level);

    lcd.setCursor(7, 0);
    lcd.print("SOIL:");
    lcd.setCursor(12, 0);
    lcd.print(Soil_Humidit_Value);

    lcd.setCursor(0,1);
    lcd.print(" TURBIDITY: ");
    lcd.setCursor(11, 1);
    lcd.print(Turbidity_Sensing_Value);
    Send_Wifi();
    if(Soil_Humidit_Value>600)
    {
        digitalWrite(Wate_Pump_Motor,HIGH);
        init_sms();

    }
    if(Soil_Humidit_Value<600)
    {
        digitalWrite(Wate_Pump_Motor,LOW);


    }
    if( Water_Level<500)
    {
        digitalWrite(5,HIGH);

    }
    if( Water_Level>500)
    {
        digitalWrite(5,LOW);

    }
    if(Turbidity_Sensing_Value>300)
    {
        digitalWrite(6,LOW);

    }
    if(Turbidity_Sensing_Value<300)
    {
        init_sms1();
        digitalWrite(6,HIGH);
    }
}
void init_sms()
{
    Serial1.println("AT+CMGF=1");
    delay(400);
    Serial1.println("AT+CMGS=\"6300437117\"");   // use your 10 digit cell no. here
    delay(400);
    Serial1.print(" Motor On ");
    Serial1.write(26);
    delay(2000);

    Serial1.println("AT+CMGF=1");
    delay(400);
    Serial1.println("AT+CMGS=\"8328060767\"");   // use your 10 digit cell no. here
    delay(400);

    Serial1.print(" Motor On ");
    Serial1.write(26);
    delay(2000);
}
void init_sms1()
{
    Serial1.println("AT+CMGF=1");
    delay(400);
    Serial1.println("AT+CMGS=\"6300437117\"");   // use your 10 digit cell no. here
    delay(400);
    Serial1.print(" water turbidity high used for industrial");
    Serial1.write(26);
    delay(2000);

    Serial1.println("AT+CMGF=1");
    delay(400);
    Serial1.println("AT+CMGS=\"8328060767\"");   // use your 10 digit cell no. here
    delay(400);

    Serial1.print(" water turbidity high used for industrial");
    Serial1.write(26);
    delay(2000);
}
void Send_Wifi()
{
    Serial.print("AT\r\n");
    delay(1000);
    Serial.print("AT+CWMODE=3\r\n");
    delay(2000);
    Serial.print("AT+CIPMUX=1\r\n");
    delay(2000);
    Serial.print("AT+CWJAP=\"VITS\",\"12345678\"\r\n"); //ssid and password
    delay(10000);
    Serial.print("AT+CIPSTART=4,\"TCP\",\"184.106.153.149\",80\r\n");
    delay(5000);
    Serial.print("AT+CIPSEND=4,106\r\n");
    delay(3000);
    Serial.print("GET /update?key=8DCVIDR7LZ9OURT8&field1=");
    UARTWriteInt(Water_Level,4);
    Serial.print("&field2=");
    UARTWriteInt( Soil_Humidit_Value,4);
    Serial.print("&field3=");
    UARTWriteInt( Turbidity_Sensing_Value,4);

    delay(300);
    Serial.print("\r\n");
}
void UARTWriteInt(long val,unsigned int field_length)
{
    char str[10]={0,0,0,0,0,0,0,0,0,0};
    int i=9,j=0;
    while(val)
    {
        str[i]=val%10;
        val=val/10;
        i--;
    }
    j=10-field_length;
    if(val<0) Serial.write(' ');
    for(i=j;i<10;i++)
    {
        Serial.write(48+str[i]);
    }
}
Output Images


